As we said in the article about the “no-heat” method of making Kefir cheese, the difference between the “heat” and “no-heat” methods is essentially just in the way the curd gets separated from the whey.
While with the “no-heat” method, this separation is achieved by only over-fermenting the batch of Kefir, with the “heat method,” this separation is achieved by slowly and carefully heating the pot of Kefir.
However, it is fundamental to stress that heat may not be beneficial for probiotic products, Kefir included!
Any heat above 40° Celsius (104° Fahrenheit) may inhibit the probiotic properties of Kefir or even kill its probiotic bacteria.
With the heat method of making Kefir cheese, the separation of the curd from the whey is neater, and we can strain out the whey easier, but it is vitally important to apply heat very carefully.
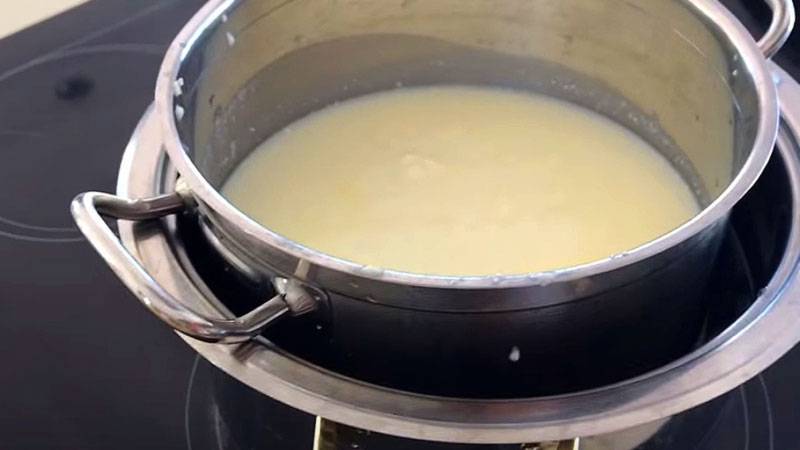
Put the pot of Kefir in a water bath on the kitchen stove and slowly warm it up while gently stirring it and taking care that the temperature of Kefir never exceeds 40° Celsius (104° Fahrenheit).
After about 20 to 30 minutes, the curd should separate from the whey and stay on top. Once this happens, switch off the stove and wait a moment for the separation to finish and the liquids to cool down slightly.
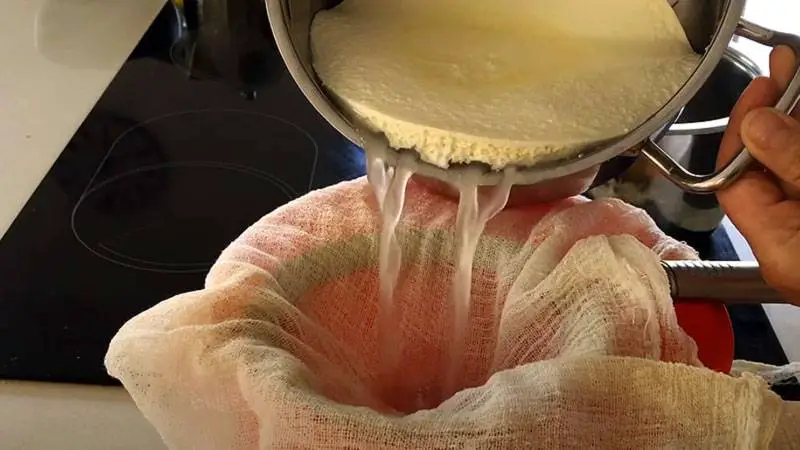
Then strain out the whey from the curd in a strainer covered with a cheesecloth.
Do not throw away the whey! It still contains healthy probiotics and can be used instead of water for making delicious pancakes or sourdough bread.
From this moment on, the preparation of our Kefir cheese goes the same way as in the “no-heat” recipe.
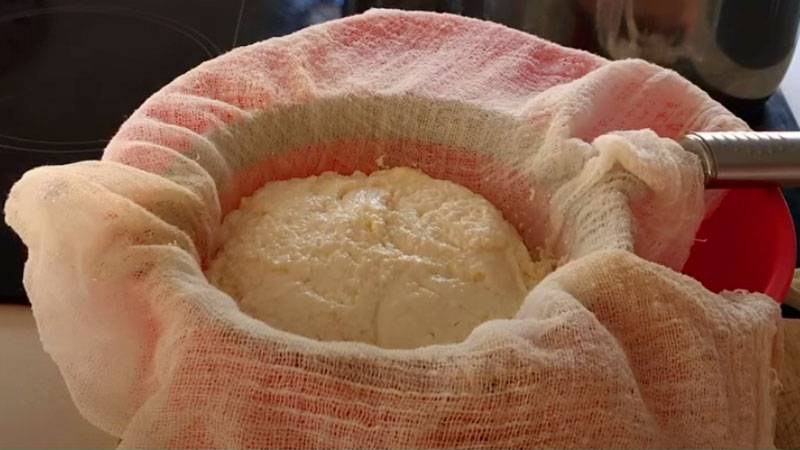
Let the Kefir curd in the strainer for a couple of hours, and then let it drain over the sink in its cheesecloth for 6 to 12 more hours.
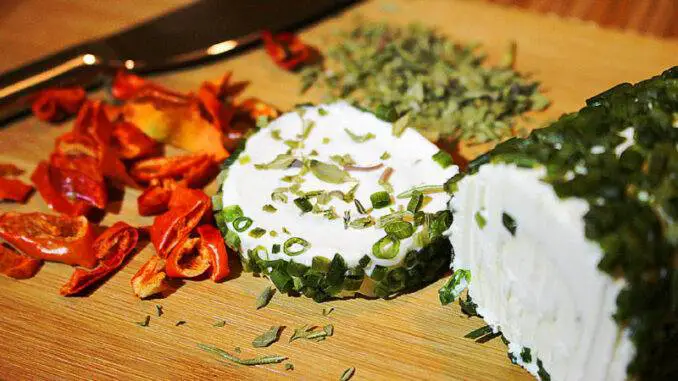
After that, add salt, herbs, and spices, and let it maturate in the fridge for a couple of days or even weeks.
The longer the Kefir cheese maturates, the more robust, tastier, and solid it gets.
Bon appétit!

