When we started our Kefir adventure, we all had some prior knowledge but still relied on the “trial and error” approach. I’m no exception.
However, after many years of trials and mistakes, some attempts appeared to be successful and became a part of my everyday routine in making Kefir.
I am about to share with you three simple tricks for better milk Kefir. They are straightforward and won’t cost you anything, but their effectiveness is proven throughout the years of my successful Kefir adventure.
At first glance, they appear too simple and obvious, but you will be surprised by the results. Details make perfection, and perfection is not a detail. Enjoy!
1. Avoid rinsing your Kefir grains
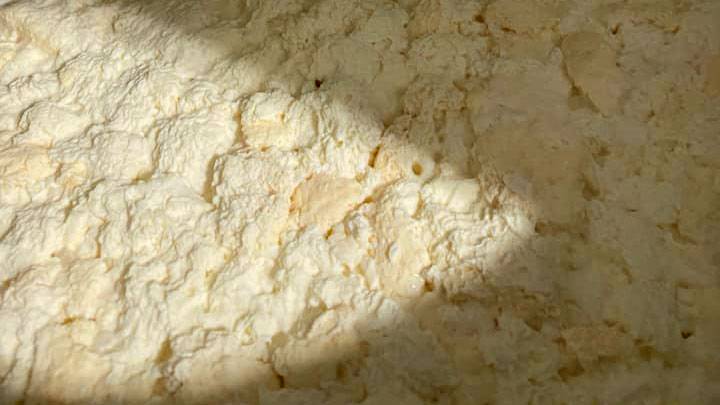
Most of you have noticed that after a couple of brews, the Kefir grains get covered by a slimy substance that some people find weird, to say the least. Many websites, social media groups, and forums dedicated to Kefir advise rinsing the Kefir grains at each milk change to eliminate this “disgusting” slimy stuff.
However, the truth is slightly different. This “slimy stuff” covering the milk Kefir grains is called Kefiran and is a biofilm secreted by the bacteria of Kefir. This biofilm creates a suitable living environment for the microorganisms and is needed by them.
Rinsing (or washing out) this biofilm from the grains will only force them to regenerate it, costing them energy. The contact of Kefir grains with water inevitably destroys their living environment, which may have only counterproductive effects.
Moreover, rinsing Kefir grains with tap water (most likely chlorinated) could do even more harm because chlorine will inhibit or temporarily stop their activity. Don’t be afraid, though; chlorine is unlikely to kill your Kefir grains but will inevitably drive them out of biological balance, and you don’t want this!

Here’s what I’ve been doing with my Kefir for many years:
Once I strain the Kefir grains from the fermented brew, I put them in a plastic container, cover them with fresh milk, and place the container in the fridge. Then, whenever I need the grains for the next batch of Kefir, I pour the entire content of this container into the jar for the new batch and add the required quantity of milk (see illustration below). I thoroughly stir the mix and let it ferment. As simple as that.
2. Periodically stir your Kefir mix
For smooth and tasty Kefir, it is vitally important to make sure your Kefir grains remain in constant contact with fresh milk.
One of the most frequent mistakes that Kefir beginners make is not taking care of their Kefir during fermentation.
The problem is that Kefir grains tend to float on top of the brew. Once on top, the upper layer of grains enters in contact with the surrounding air and dries out.
Moreover, thanks to the direct contact with the grains, the upper layers of the milk ferment faster than the lower layers resulting in uneven fermentation and an increased tendency for Kefir separation.
Beyond that, the prolonged contact of Kefir grains with hot and moist air may create favorable conditions for the formation of molds, and this is something we should avoid at all costs.
The solution to this problem is more than straightforward: periodically (once every couple of hours) stir your Kefir mix with a wooden or plastic spoon. In this way, you will ensure a constant flow of fresh milk around your Kefir grains, and your brew will be smoother and tastier.
Remember that in the ancient Caucasus, the “homeland” of Kefir, people used to place the leather bag with Kefir at the house entrance so that anyone passing by could shake it, ensuring that Kefir gets constantly mixed and kept in perfect shape.
3. Let your Kefir ferment in the fridge
You may have heard that the Kefir grains stored in the refrigerator may not ferment milk as fast as at room temperature. Well, while this is true, it is not necessarily bad.
The only thing that relatively low temperatures do to Kefir is to slow down fermentation processes. However, low temperatures will neither stop nor negatively affect these processes. Quite the opposite: slower fermentation usually leads to a smoother and tastier Kefir.
That is especially valid for secondary fermentation, but if you are not in a hurry, even the primary fermentation of Kefir can be carried out in the fridge. In this case, your Kefir may need more than 24, or even 48 hours, to ferment fully, but it will taste better and will be smoother and creamier.
The reason is that the low temperatures of the fridge act in favor of bacteria’s development at the expense of the development of the yeasts. As a result, lower temperatures and slower fermentation give Kefir a smoother consistency, and the predominance of bacteria over the yeasts makes Kefir thicker, creamier, and tastier.
But mind you! We are talking about the refrigerator, not the freezer. While freezing the kefir grains may be appropriate under certain conditions, it almost completely stops all processes in Kefir. So, freezing the Kefir grains can only be applied for their more extended storage.