Kefir is a highly beneficial probiotic drink prepared by adding fresh cow’s, goat’s, or sheep’s milk to a particular symbiotic culture, called SCOBY, standing for Symbiotic Culture Of Bacteria and Yeast. The SCOBY, also called Kefir grains, contain the main bacteria and yeast serving as a base for the fermentation transforming milk into a delicious Kefir beverage.
The preparation of milk Kefir at home is more than straightforward. Just place the Kefir grains together with fresh milk in a jar at room temperature.
This preparation includes two stages of fermentation:
Primary fermentation
In general, the primary fermentation of Kefir is straightforward and resembles the fermentation of yogurt. Unlike yogurt which needs higher temperatures to ferment, the main difference here is that everything happens at normal room temperature.
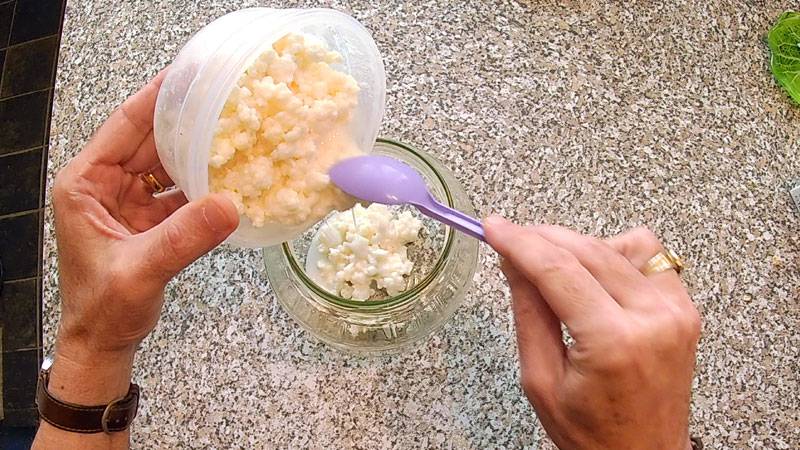
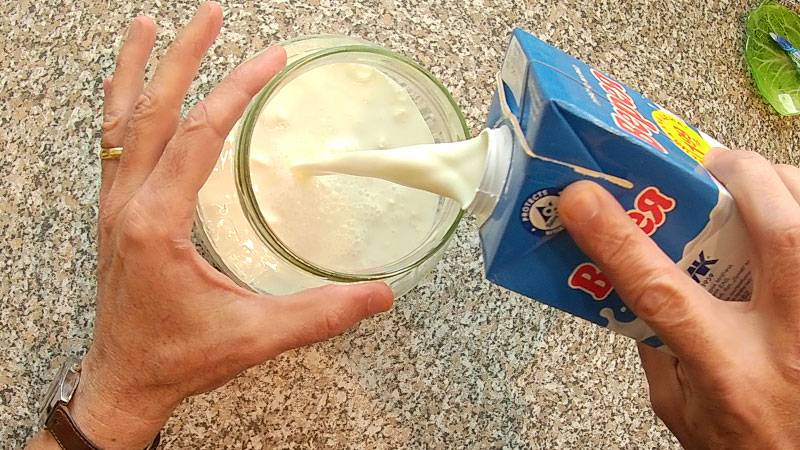
Just put 1-2 tablespoons of Kefir grains in a large bowl or jar. Add 4 cups of whole milk (cow, goat, sheep), preferably organic.
Under no circumstances should the milk be hot, as the high temperature may kill Kefir’s living bacteria and yeasts!
It is also strictly disadvised to use raw unpasteurized milk. Unpasteurized milk may contain extremely hazardous bacteria like Brucella, E. coli, or Salmonella, and can be dangerous. Always use pasteurized or pre-boiled milk.
Leave about an inch of free space above the level of the milk because during fermentation, the Kefir grains slightly swell, multiply, and the amount of the mix visibly increases.
You can add a little cream if you want the Kefir to become thicker and tastier.
Cover the container with a paper towel or cheesecloth, securing it with an elastic band to prevent dust or other contaminants from entering. You may also close the lid without tightening it. That will allow the Kefir to breathe without any pressure from the gazes created by fermentation.
Primary fermentation lasts from 12 to 24 hours, depending on the temperature and the expected taste. Place the jar away from direct sunlight at temperatures between 18 and 28° C (65 and 82° F).
Once the consistency of the contents becomes thicker and denser, the Kefir is ready. A good sign that your Kefir is ready is the appearance of tiny streaks of whey within the brew. Any further separation of the whey in your Kefir would already be a sign of over-fermentation.
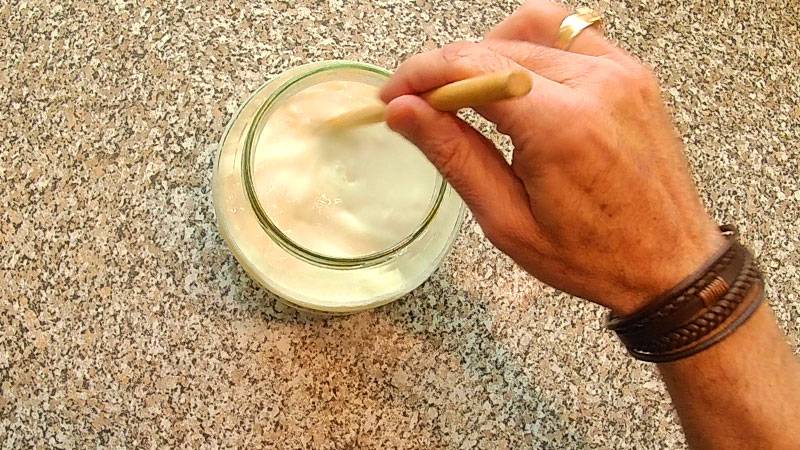
It is good to activate the Kefir during the primary fermentation by repeatedly shaking the jar or stirring the liquid with a wooden spoon. Although this is not required, it is highly recommended as the result will be a smoother and better-textured Kefir.
In the Caucasus, the leather bag containing Kefir was placed at the house entrance so that anyone passing by could shake it. People believed that in this way, better and smoother Kefir was obtained.
Secondary fermentation
The primary fermentation typically takes from 12 to 24 hours, depending on the room temperature. In winter, fermentation may take even longer than 24 hours, whereas less than 12 hours may be enough in the hot summer months.
The slight separation between the whey and the curd is a good sign that your Kefir is ready. A complete separation signifies that the Kefir may have over-fermented, but this is not a big deal. Just stir the jar’s content with a wooden spoon, and your Kefir will be again smooth and homogeneous.
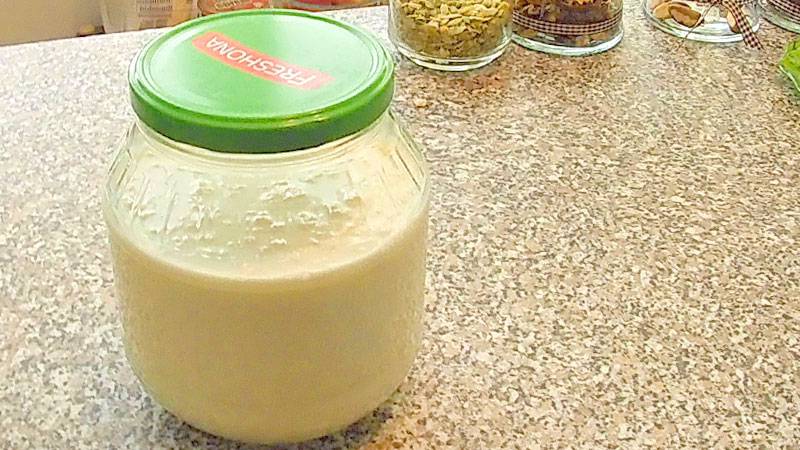
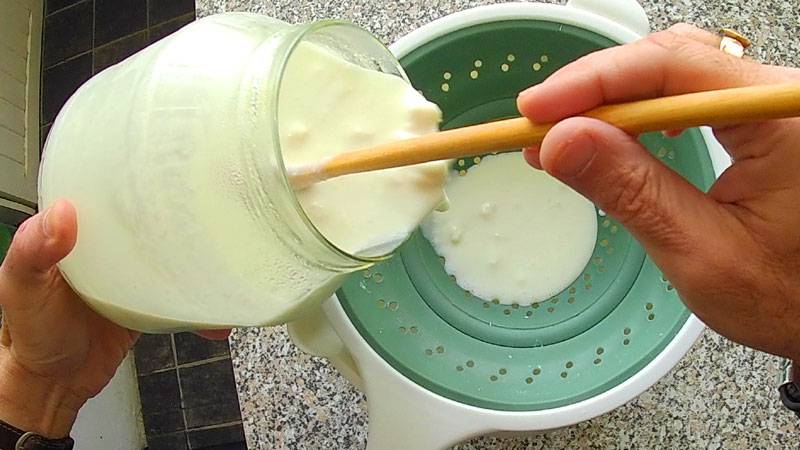
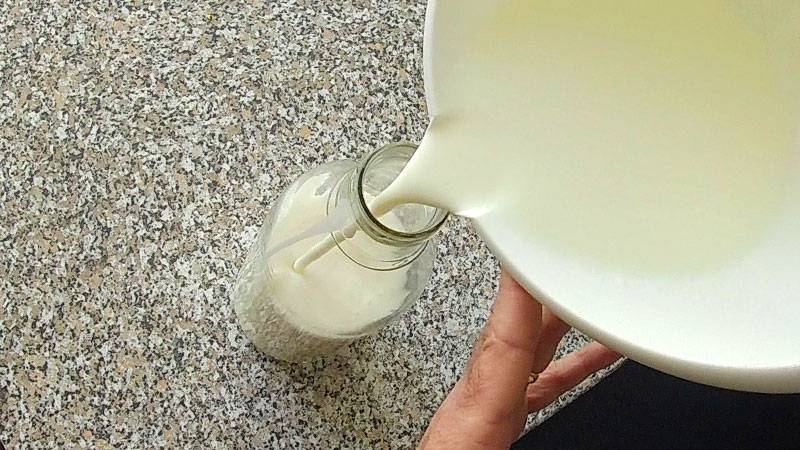
The fermented liquid should be strained with a non-metal strainer and separated from the Kefir grains. We should then pour the (almost) ready Kefir drink into glass bottles for secondary fermentation.


The secondary fermentation is usually carried out in a refrigerator and may last another 12 to 24 hours or more. The rule of thumb here is that the longer the Kefir stays in the fridge for secondary fermentation, the more robust, tastier, fizzier, and sourer it gets. And more probiotics-rich, of course.
Some people like the smoother and less sour Kefir you get after about 12 hours of secondary fermentation. Others prefer the more robust and rich taste of a Kefir that has been secondary-fermented for several days.
This is all a matter of taste, but remember – the longer Kefir ferments, the richer in probiotics it gets.
Kefir to milk ratio
The ratio of Kefir grains to milk is usually 1:10. At lower temperatures (below 18° C), a proportion could be decreased to 1:5.
In most cases, about two tablespoons of Kefir grains are enough for 1 liter (35 oz) of milk.
Variations in this ratio depend on individual tastes and preferences. For a relatively fresh and mildly carbonated Kefir with a less intense flavor, the Kefir to milk ratio can be increased to 1:15 or even 1:20.
The rule of thumb is that more Kefir grains produce faster a stronger and tangier drink. If your Kefir ferments and starts to separate after less than 12 hours, you may either decrease the number of grains or reduce the temperature (put it in a cooler place, or even in the fridge). Through experimentation, everyone can achieve the desired density and preferred taste.
In the process of fermentation, Kefir grains increase in size. When the Kefir grains grow too much without increasing the amount of milk (or reducing the grains), it is likely to end up with Kefir where curd and whey get separated (see illustration below).
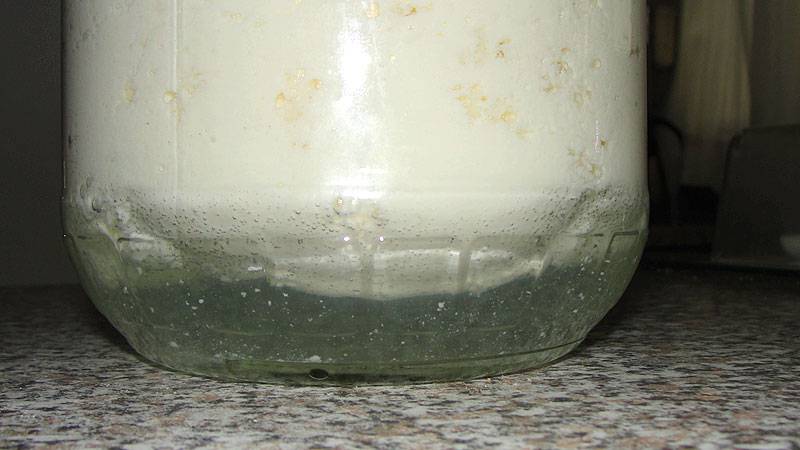
The separation of Kefir is not a concern! You can either stir them back together or drain out the whey and use the curd for making tasty Kefir cheese.
As we said earlier, after straining and removing the Kefir grains, the drink should be left in or out of the refrigerator for a maturation period (secondary fermentation) from 1 to 3 days.
The Kefir grains that we just strained out should then be placed in a new portion of milk for a new batch of Kefir.
Do I need to rinse the Kefir grains?
There are different opinions, but the prevailing is that rinsing the Kefir grains at every milk change is not only unnecessary but could even be harmful.
It is believed that rinsing disrupts the rhythm of the microflora on the surface of Kefir grains. The people of the Caucasus, where Kefir comes from, did not rinse their Kefir grains after each milk change.
Usually, rinsing the Kefir grains every second or third milk change appears to be the less harmful practice.
The “slimy” substance that usually covers the Kefir grains is called Kefiran, which is known to provide a suitable living environment for the bacteria of Kefir. Rinsing this substance out may just disrupt the natural processes in Kefir grains forcing them to rebuild their layer of Kefiran.
When rinsing the Kefir grains, however, it is imperative to use non-chlorinated water at room temperature.
Never rinse Kefir grains with hot or heavily chlorinated water, which may inhibit their activity or even kill them.
Another important point is that we should use only wooden or plastic containers and tools when making Kefir. It is believed that the contact of Kefir grains with any metal may affect their probiotic properties. Straining Kefir should also be done with a plastic strainer, not a metal one.
It is believed that stainless steel is less reactive and thus could be more suitable for handling Kefir. However, to stay on the safe side, we’d better avoid any contact of Kefir with metal surfaces.