Making Kefir with coconut milk is the most widespread (and tasty) way to obtain a dairy-free, lactose-free, and vegan-friendly alternative to the classic milk kefir.
Not surprisingly, coconut Kefir is made with coconut milk.
Note that coconut milk is different from the coconut water found in the inner body of coconuts. It is made by mixing the ground flesh of a fully matured coconut with coconut water.
Important notes about coconut milk
You can make your coconut milk yourself by fine-grinding the inner flesh of a fully matured coconut and then mixing it with the coconut’s juice (coconut water found inside the nut). Unfortunately, this is a rather time-consuming and labor-intensive task, so a better option would probably be to get some ready coconut milk you’d find as a canned product in almost any supermarket or grocery store.
Coconut water alone can also be used to make Kefir, but it should be mixed with Water Kefir grains, which are very different from Milk Kefir grains. The resulting product will be Water Kefir which has very different properties than Milk Kefir, and the subject of this article is the preparation of Milk Kefir with coconut milk.
Be careful, though, because most canned coconut milk usually contains preservatives that may interfere with fermentation. Preservatives are added to extend the product’s shelf life, but they could lead to Kefir which doesn’t ferment properly.
So, your best option would probably be to look for canned full-fat coconut milk that is as “organic”, “eco-friendly,” and as close to natural as possible. Usually, a good sign is the statement “No preservatives” on the product label, and, of course, the coconut milk should be unsweetened.
It is essential to remind that coconut milk does not contain lactose (the sugar present in natural Milk), and lactose is vital for kefir grains. If deprived of their primary food – the lactose – the activity of probiotic bacteria in the Kefir grains will decrease with time. They may starve and ultimately die.
Sometimes, adding a bit of organic sugar to coconut milk to replace the milk sugar (the lactose) may help keep the Kefir grains “happy”. However, there is no evidence that this might work in the longer run.
That’s why it is crucial to periodically (every 2 or 3 batches of coconut milk Kefir) return the Kefir grains into fresh dairy milk to nourish and revitalize them.
Another critical point is that the Kefir grains used to make coconut Kefir should be fully active and previously used with regular dairy milk. Any attempt to ferment coconut milk with lyophilized “Kefir starters” or commercially sold Kefir grains that have not been once activated with dairy milk will hardly lead to satisfactory results.
How to make Kefir with coconut milk?
Beyond the above clarifications, the recipe for preparing coconut milk Kefir is more than straightforward and almost similar to how regular milk Kefir is made.
You will need a teaspoonful of Kefir grains for every 400 grams (14 oz) of coconut milk.
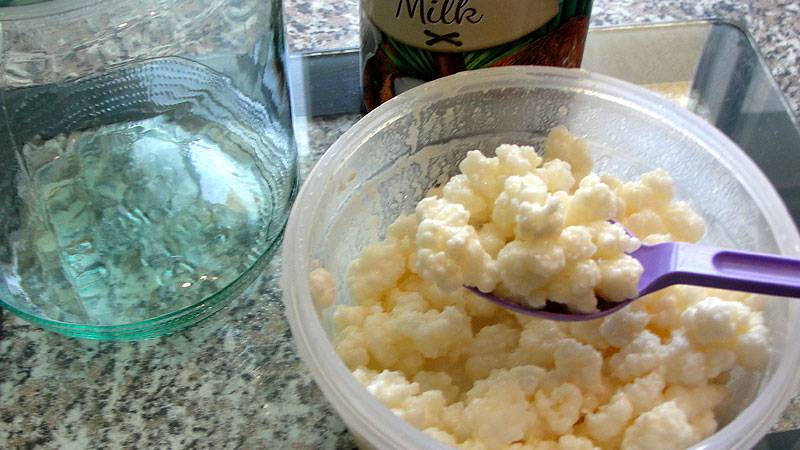
Like with natural milk Kefir, the next step is to mix the gains with coconut milk.
However, before adding the Milk to the grains, don’t forget to stir it well to mix the hard particles (the small pieces of coconut flesh) with the liquid (coconut water). The coconut milk should have a look and the consistency of regular dairy milk.
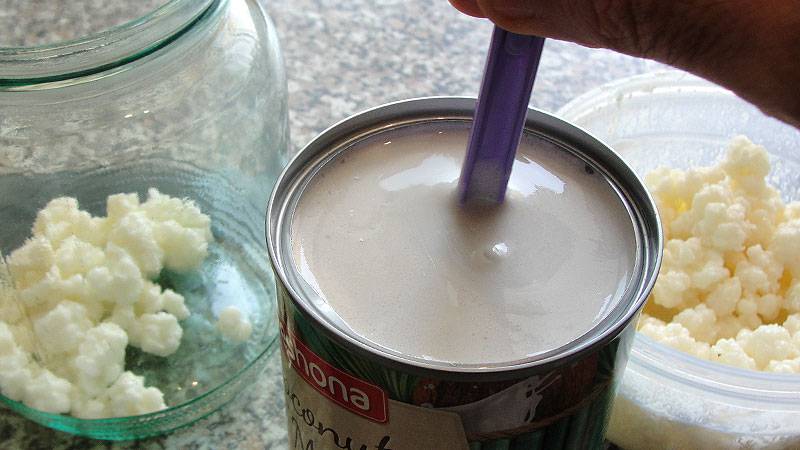
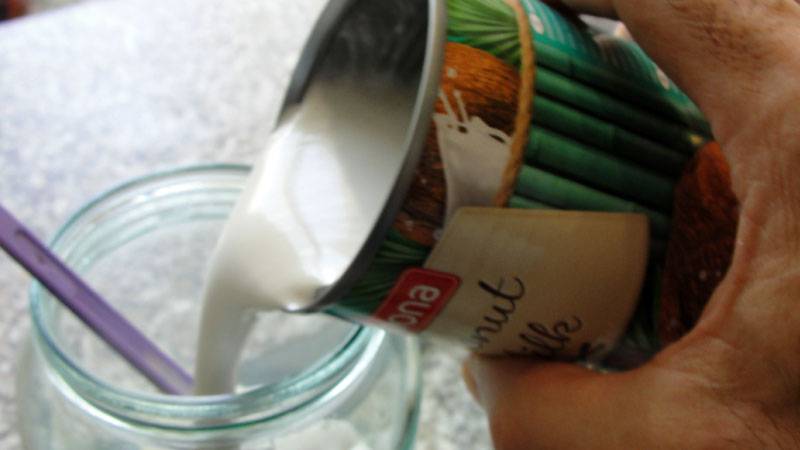
After that, you may add the coconut milk to the Kefir grains, stir the mixture well with a non-metal spoon, and leave it to ferment for 12 to 24 hours, depending on the ambient temperature. The initial fermentation should take no longer than 24 hours, but it usually takes considerably less time on hotter summer days than colder winter days.
As long as fermentation time (and individual tastes) may vary, it is a good idea to start tasting the coconut Kefir after the first 12 hours.
Once the brew fits your taste and expectations, you can strain the Kefir grains out of the mix and directly drink the fermented beverage or put it in the refrigerator for secondary fermentation.

The secondary fermentation of coconut Kefir may take from one to several days, and the longer it stays in the fridge, the thicker, tangier, and tastier it gets.
Note that coconut Kefir may start to taste a bit too tangy and even tart after a certain point. So, exactly like in primary fermentation, it is also a good idea to periodically taste your Kefir during its secondary fermentation.
You will know whether your coconut milk Kefir is ready only by tasting it. Unlike the dairy milk Kefir, the coconut milk will neither form “whey pockets” nor separate when over-fermenting. It will only become thicker and tangier, sometimes even bitter. So, to avoid over-fermentation, it is always best to periodically taste your fermenting Coconut Kefir.
Our recommendations
Summary
Coconut milk is the best non-dairy alternative to cow’s or goat’s milk to make a keto, vegan, and 100% lactose-free homebrew Kefir. It is advised to choose commercial coconut milk marked as full-fat “Organic” with “no preservatives”. Unfortunately, a lot of the commercially available coconut milk packs contain added preservatives that may interfere with the fermentation of Kefir.
It is important to state that coconut milk does not contain lactose, and lactose (a type of sugar found in dairy milk) is a vitally important food for Kefir grains. If deprived of lactose for more extended periods, the bacteria in Kefir grains will starve and ultimately die.
That is why the grains used to make coconut Kefir should be initially activated in dairy milk and periodically fed and revitalized with dairy milk. Failing to do so may lead to starvation and deterioration of the grains.
Beyond these suggestions, coconut milk Kefir’s preparation is no different from the way regular dairy milk Kefir is prepared.
Related questions
- Does coconut milk Kefir have the same properties as dairy milk Kefir? Not really. Kefir made with coconut milk differs from the “normal” Kefir made with dairy milk in terms of probiotic properties and taste. While it contains more fats and some minerals, its probiotic powers are far inferior to those of dairy milk Kefir, and its taste is … a matter of taste. The main advantage of coconut milk Kefir is that it is 100% vegan, keto, and lactose-free, but it is no more than a substitute for dairy milk Kefir.
- Can Kefir also be made with other non-dairy kinds of Milk like almond milk or soy milk? Yes, but the results are inconsistent and hardly predictable. If you are looking for a non-dairy alternative to Milk Kefir, coconut milk seems to be your best alternative, but you are free to test and taste any other non-dairy milk alternative.